As users and groups are used, they might need updates to their attributes (or properties). For example, you might need to change a user’s job title, or you might need to add or remove members from an existing group.
Users and groups can be updated using management tools such as the Azure portal, Azure PowerShell, Azure CLI, and Microsoft Graph. Figure 1-4 shows an example of the user profile in the Azure portal that can be accessed by browsing to your Entra tenant, selecting Users, choos- ing a user, and clicking Edit Properties.
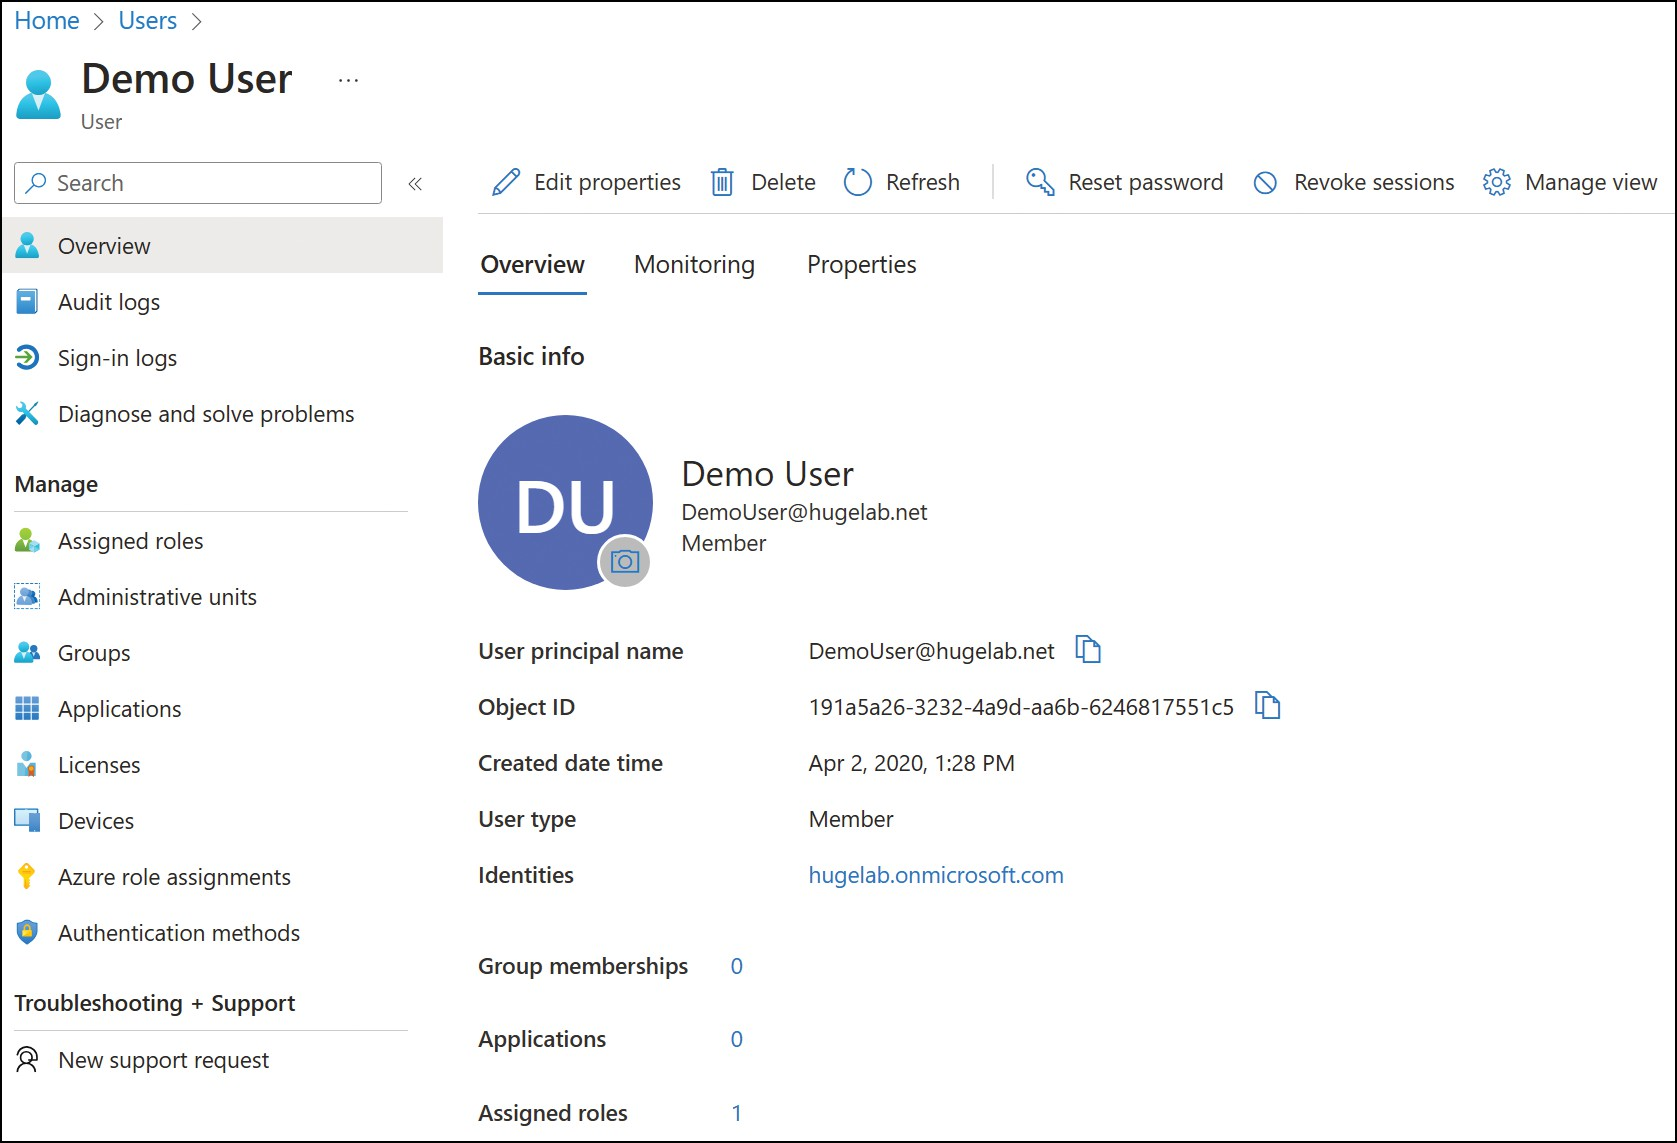
FIGURE 1-4 A user profile in the Azure portal
Groups can be managed through the Azure portal by browsing to your Entra tenant, selecting Groups, choosing a specific group, and then clicking Properties, Members, or Own- ers, depending on the type of update you want to make. When editing a group, you will not be able to change the Group Type (such as changing a Security group to a Microsoft 365 group), but you will be able to update the Group Name, Group Description, and the Membership Type, as shown in Figure 1-5. Changing a static group to dynamic group will remove all the members from the static group and apply dynamic membership rules. This change will also affect the access to the resources if the static group has any previously assigned access for its members.
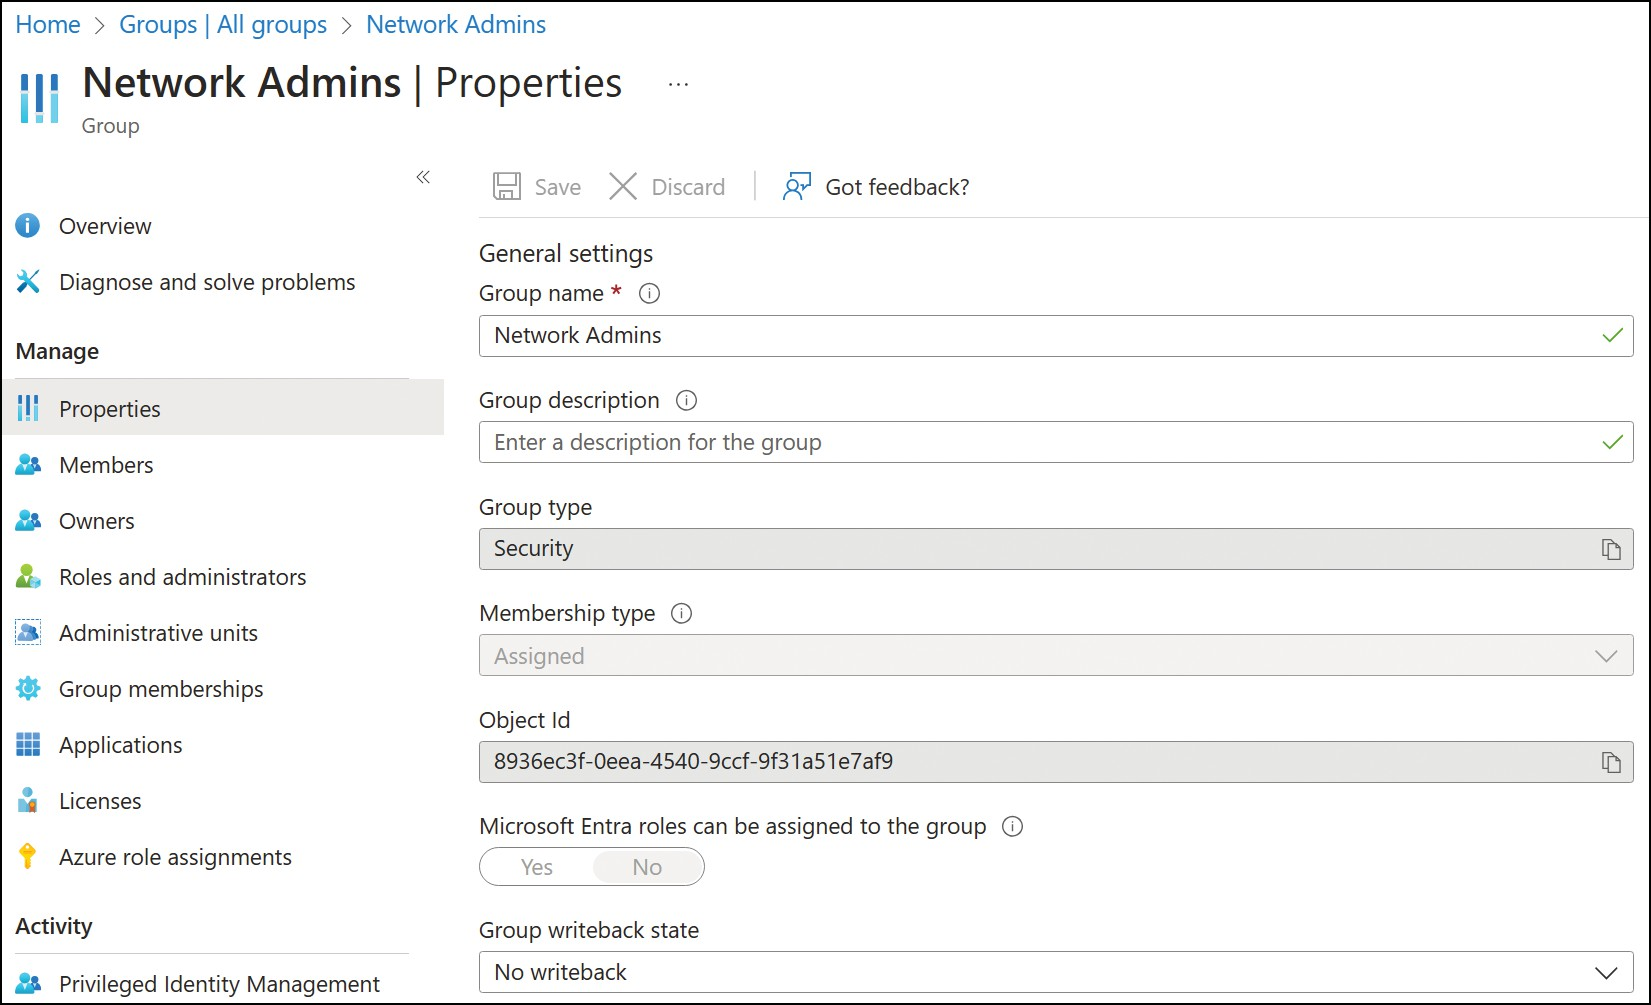
FIGURE 1-5 Group properties in the Azure portal
Registered and joined devices in Entra ID can be managed in two areas in the Azure portal:
With either option, you will be able to search for devices using the device name as a filter, view a detailed overview of any registered and joined devices, and perform common device- management tasks.
To enable and disable devices, you must be a Global Administrator, Intune Administrator, or Cloud Device Administrator. Disabling a device prevents it from accessing Entra ID resources. Note that this does not prevent the user from accessing resources in general; it only prevents the user from accessing resources from that disabled device. Figure 1-6 shows the Disable option.
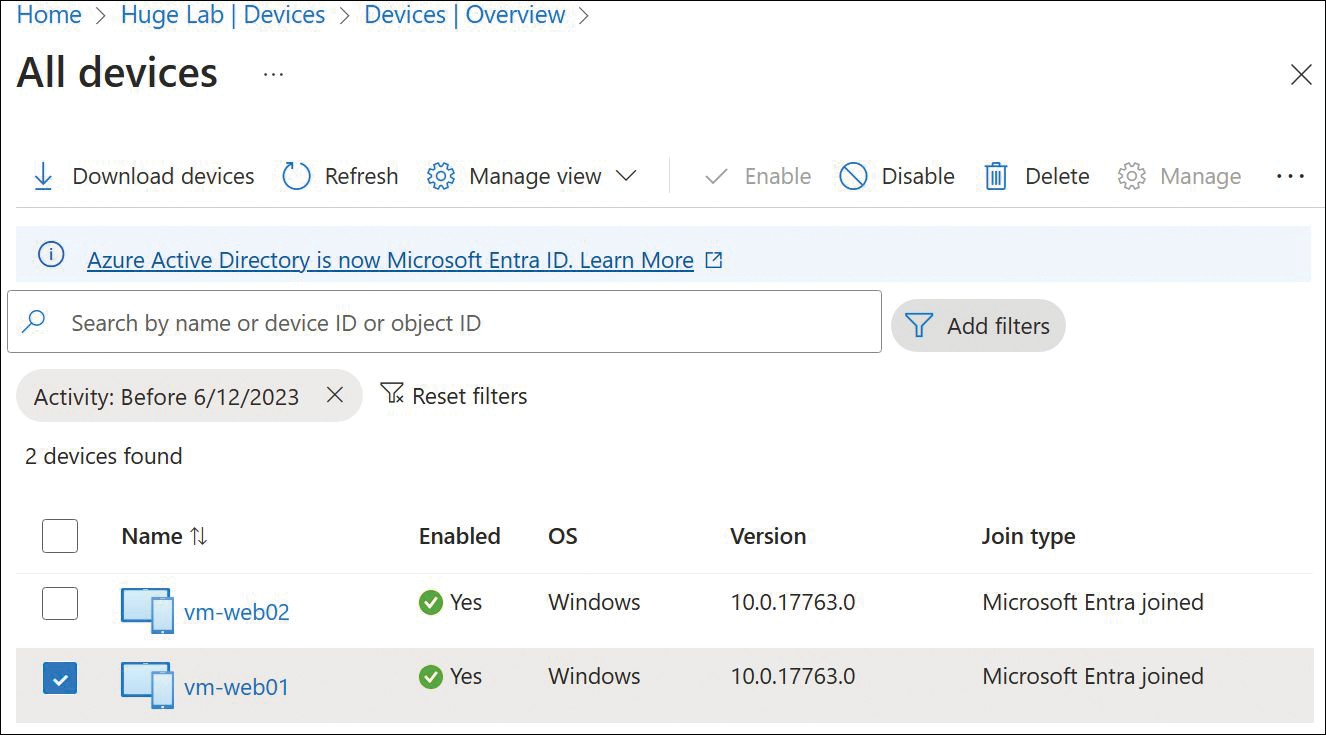
FIGURE 1-6 Disable option in the All Devices blade in the Azure portal
Deleting devices is similar to enabling or disabling a device. Again, the user performing the update must be a Global Administrator, Intune Administrator, or Cloud Device Administrator. Deleting a device prevents a device from accessing your Entra ID resources and removes all details that are attached to the device (including BitLocker keys for Windows devices). Deleting a device represents a non-recoverable activity and is not recommended unless it is required for an activity such as device decommissioning.
Previously, the Azure portal was only helpful for single updates to users, which meant you had to rely on custom automation solutions (mostly using PowerShell) for updating users in bulk. Because of recent updates, you can now perform bulk operations (such as creating, invit- ing, and deleting users in batches) using the Azure portal as well as the Entra admin center at https://entra.microsoft.com.
Acedexam Training Policies
Learning resources
Other resources
Our Training Providers