Getting hands-on with Amazon SageMaker’s training and inference instances – Amazon SageMaker Modeling – MLS-C01 Study Guide
Getting hands-on with Amazon SageMaker’s training and inference instances
In this section, you will learn about training a model and hosting the model to generate its predicted results. Let’s dive in by using the notebook instance from the previous example:
Sign in to your AWS account at https://console.aws.amazon.com/sagemaker/home?region=us-east-1#/notebook-instances.
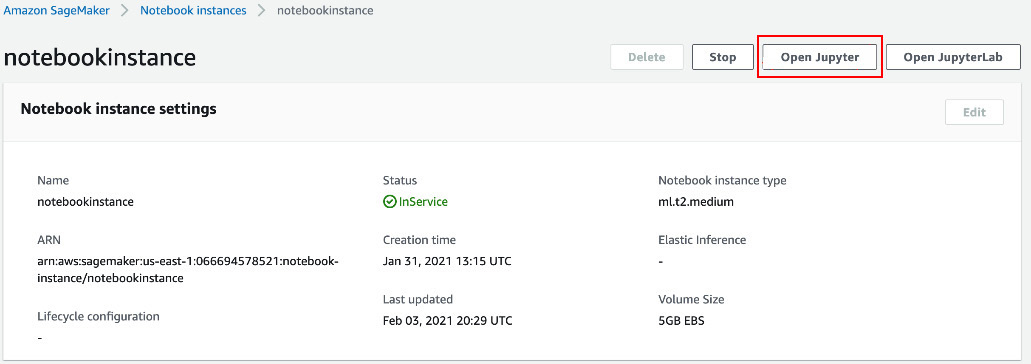
Click on Start next to the instance that you created in the previous example, notebookinstance. Once the status moves to InService, open it in a new tab, as shown in Figure 9.7:
Figure 9.7 – The InService instance
Navigate to the tab named SageMaker Examples from the Jupyter Notebook home page.
Select the k_nearest_neighbors_covtype.ipynb notebook. Click on Use and create a copy.
When you run the following code block, as shown in Figure 9.8, you can also check a training job in Training > Training jobs of the SageMaker home page:
Figure 9.8 – The SageMaker fit API call
The training job looks similar to Figure 9.9. It launches an ECS container in the backend and uses the IAM execution role created in the previous example to run the training job for this request:
Figure 9.9 – Training jobs
If you go inside and check the logs in CloudWatch, it gives you more details about the containers and the steps they performed. As an ML engineer, it’s worth going in and checking the CloudWatch metrics for your algorithm.
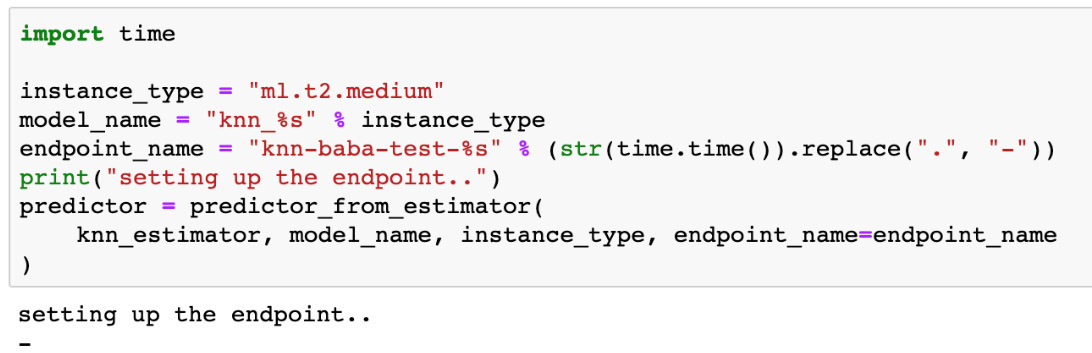
Now, if you run the following paragraph, as shown in Figure 9.10, in the notebook, then it will create an endpoint configuration and an endpoint where the model from the earlier training job is deployed.
I have changed the instance type to reduce costs. It is the instance or the machine that will host your model. Please choose your instance wisely. You will learn about choosing instance types in the next section. I have also changed endpoint_name so that it can be recognized easily:
Figure 9.10 – Creating the predictor object with endpoint details
Navigate to Inference > Endpoints. This will show you the endpoint that was created as a result of the previous paragraph’s execution. This endpoint has a configuration and can be navigated and traced through Inference > Endpoint Configurations.
If you view the Inference section in the notebook, you will notice that it uses the test data to predict results. It uses the predictor object from the SageMaker API to make predictions. The predictor object contains the endpoint details, model name, and instance type.
The API call to the endpoint occurs in the Inference section and is authenticated via the IAM role with which the notebook instance is created. The same API calls can be traced through CloudWatch invocation metrics.
Finally, running the delete_endpoint method in the notebook will delete the endpoint. To delete the endpoint configurations, navigate to Inference > Endpoint Configurations and select the configuration on the screen. Click on Actions > Delete > Delete.
Now, please feel free to shut down the kernel and stop your notebook instance from the SageMaker console. This is a best practice to reduce costs.
In this section, you learned how to use the notebook instance, training instances, inference endpoints, and endpoint configurations to clean our data, train models, and generate predicted results from them. In the next section, you will learn about model tuning.